Table of Contents
- Requirements
- Setting up the Server
- Configuring the Server
- Running the Server
- Connecting to the Server
- FAQ
- Help Section
Welcome to my blog on creating a QBCore server with TxAdmin! In this tutorial, I will guide you through the process of setting up your own QBCore server using TxAdmin. This is an essential skill for anyone interested in modding GTA 5 and creating their own game experiences.
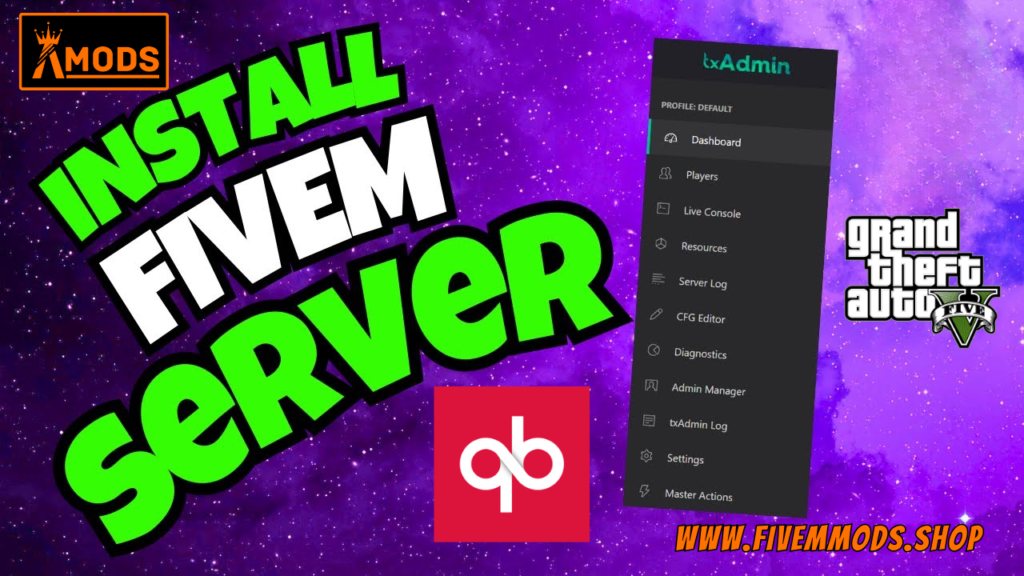
Creating a QBCore server with TxAdmin is important because it allows you to have full control over your server and customize it to your liking. With TxAdmin, you can easily manage your server, install resources, and monitor its performance.
The process involves a few steps, but don’t worry, I’ll walk you through each one. First, you’ll need to download the FiveM client from the official website. Then, you’ll need to sign up for a key on the CFX Key Master website. After that, you’ll need to download XAMPP, a tool that allows you to run a local web server. Finally, you’ll need to download the necessary server files and configure TxAdmin.
Throughout this tutorial, I’ll provide all the resources you need and explain each step in detail. By the end, you’ll have your own QBCore server up and running, ready for you to create your own unique GTA 5 gaming experience.
Requirements
In order to create a QBCore server with TxAdmin, there are a few requirements that you need to fulfill. Here are the steps you need to follow:
Downloading the FiveM client
The first step is to download the FiveM client from the official website. Visit the website and click on the “Download Client” button.
Creating an account on the FiveM Forum
Next, you’ll need to create an account on the FiveM Forum. Visit the forum page and click on the “Sign Up” button to create your account.
Signing up for a key on CFX Key Master
After creating your account on the FiveM Forum, you’ll need to sign up for a key on CFX Key Master. Use the same information you used to sign up on the forum to sign in to CFX Key Master and obtain your key.
Downloading and installing XAMPP
To run your server, you’ll need to download and install XAMPP. Visit the XAMPP website and download the latest version for your operating system.
Once downloaded, double-click the installer and follow the on-screen instructions to install XAMPP.
After installation, open the XAMPP Control Panel and start both Apache and MySQL.
Downloading the necessary server files and configuring TxAdmin
Finally, download the necessary server files from the FiveM Build Server page. Choose the latest recommended version and download the server build, FiveM , and XAMPP.
Once downloaded, open the server folder and run the FX server application. Follow the prompts to link your account, create a backup password, and select the QB Core framework template.
Next, enter your key master key and run the recipe. After it finishes, navigate to the TX data folder and copy all the server files into it.
Save and run the server using the FX server application, and then open the FiveM client to connect to your local host and start playing on your QBCore server.
By following these requirements, you’ll have your own QBCore server with TxAdmin up and running, ready for you to customize and create your unique GTA 5 gaming experience.
Setting up the Server
Now that we have all the necessary files downloaded, we can proceed with setting up the server. Follow these steps to get your QBCore server with TxAdmin up and running:
Installing the necessary files
Start by installing the FiveM client from the official website. Download the client and follow the on-screen instructions to install it on your computer.
Configuring FiveM and selecting the game directory
After installing FiveM , open the application and wait for it to update. Then, you’ll be prompted to select your game directory. Locate your GTA 5 folder on your computer and select the GTA 5 exe file to link it with FiveM .
Installing XAMPP and setting the preferred language
Next, you’ll need to install XAMPP. Download the latest version from the XAMPP website and follow the installation instructions. Make sure to select your preferred language during the installation process.
Starting XAMPP and navigating to the server folder
Once XAMPP is installed, open the XAMPP Control Panel. Start both Apache and MySQL by clicking on the “Start” button next to each. Allow any necessary permissions if prompted.
Now, go to the server folder that you downloaded earlier. Scroll down and locate the FX server application. Double-click on it to run it.
Downloading the necessary server files and configuring TxAdmin
When the FX server application opens, a browser window will appear. Enter the pin displayed on the page and click on the “Link Account” button. Create a backup password and confirm it.
In the TxAdmin interface, enter a short server name for your server. This is the name that will be used in the TxAdmin interface, chat, and Discord messages. Select the QB Core framework template and click on “Next”.
Enter your key master key, which you obtained earlier, and click on “Next”.
Finally, go back to the server folder and copy all the files inside it. Navigate to the TX data folder and paste the files there.
Save and run the server using the FX server application. You can now open the FiveM client, connect to your local host, and start playing on your QBCore server.
By following these steps, you have successfully set up your QBCore server with TxAdmin. Now, you can customize and create your unique GTA 5 gaming experience.
Configuring the Server
In order to configure your QBCore server with TxAdmin, follow these steps:
Creating a master account on TXAdmin
After running the FX server application, a browser window will appear. Enter the pin displayed on the page and click on “Link Account”. Create a backup password and confirm it. Once done, select “Create Master Account”.
Setting a server name and choosing the QB Core framework
In the TXAdmin interface, enter a short server name for your server. This name will be used in the TxAdmin interface, chat, and Discord messages. Select the QB Core framework template.
Selecting the QB Core framework template
From the curated list of community favorites, choose the QB Core framework template. This template is recommended for creating your own unique GTA 5 gaming experience.
Setting the data location for the server
Choose the folder where the server will be deployed. This folder will contain all your resources and configuration files. It is recommended to use the suggested path provided by TxAdmin.
Downloading the necessary server files and configuring TxAdmin
Now, go back to the server folder and copy all the downloaded files. Navigate to the TX data folder and paste the files there. Save and run the server using the FX server application. This will complete the configuration process.
By following these steps, you have successfully configured your QBCore server with TxAdmin. Your server is now ready for you to customize and create your unique GTA 5 gaming experience.
Running the Server
Now that you have completed the initial setup and configuration, it’s time to run your QBCore server with TxAdmin. Follow these steps to get your server up and running:
Entering the license key from Key Master
After configuring TxAdmin, you will be prompted to enter your license key that you obtained from Key Master. Enter your license key in the designated field and click “Next.” This will validate your license and allow you to proceed with running the server.
Starting Apache and MySQL in XAMPP
Before running the server, make sure that Apache and MySQL are both started in XAMPP. Open the XAMPP Control Panel and click on the “Start” button next to both Apache and MySQL. Keep an eye out for any prompts that may require you to allow access.
Running the recipe deployer
Once Apache and MySQL are running, return to the TXAdmin interface and click “Run Recipe.” This will install all the necessary resources and configurations for your server. Wait for the process to complete.
Moving server files to the TX data folder
After the recipe deployer finishes, navigate back to the server folder where you downloaded the files. Select all the files in the folder and copy them. Then, open the TX data folder and paste the files there. This will ensure that all the server files are in the correct location for the server to run.
At this point, you have successfully moved all the necessary server files and are ready to start the server.
Starting the server
To start the server, run the FX server application located in the TX data folder. This will launch your QBCore server. You can now open the FiveM client, connect to your local host, and start playing on your QBCore server.
By following these steps, you have successfully run your QBCore server with TxAdmin. You can now customize and create your unique GTA 5 gaming experience.
Connecting to the Server
Now that we have completed the initial setup and configuration of our QBCore server with TxAdmin, it’s time to connect to the server and start playing. Follow these steps to connect to the server:
Launching FiveM and connecting to Local Host
Start by launching the FiveM client that you downloaded from the official website. Double-click the application to open it. Once opened, you will see the option to connect to your Local Host. Select the Local Host option to connect to your server.
Creating a character within the server
After connecting to your server, you will be prompted to create a character. Select an empty slot and follow the on-screen instructions to customize your character. Once you have created your character, you will spawn inside your QBCore server.
Brief mention of using resources in QB Core framework
Within your QBCore server, you have access to various resources provided by the QB Core framework. These resources allow you to customize and enhance your gaming experience. Take some time to explore the available resources and see how they can improve your gameplay.
Conclusion and call to action
By following these steps, you have successfully connected to your QBCore server with TxAdmin and created a character within the server. Now it’s time to unleash your creativity and make the most out of your unique GTA 5 gaming experience. Customize your server, explore different resources, and create your own adventures in the world of GTA 5.
FAQs
1. How do I download the necessary files to create a QBCore server with TxAdmin?
To download the necessary files, you will need to visit the FiveM website and download the FiveM client. You will also need to create an account on the FiveM Forum and sign up for a key on CFX Key Master. Additionally, you will need to download and install XAMPP.
2. How do I configure TxAdmin for my QBCore server?
To configure TxAdmin, you will need to run the FX server application and enter the pin displayed on the page. Then, you will need to create a backup password and confirm it. In the TxAdmin interface, you can enter a short server name for your server and select the QB Core framework template.
3. How do I run my QBCore server with TxAdmin?
To run your QBCore server, you will need to enter your license key from Key Master in the TxAdmin interface. Then, start Apache and MySQL in XAMPP. After that, you can run the recipe deployer in TxAdmin, move the server files to the TX data folder, and start the server using the FX server application.
4. How do I connect to my QBCore server with TxAdmin?
To connect to your QBCore server, you will need to launch the FiveM client and select the Local Host option. After connecting, you can create a character within the server and start playing. Make sure to explore the resources provided by the QB Core framework to enhance your gaming experience.
5. How do I customize my QBCore server with TxAdmin?
To customize your QBCore server, you can modify the server CFG file in the QB Core framework folder. This file allows you to add new resources and configure your server settings. Take your time to explore the available resources and create your own unique GTA 5 gaming experience.
Help Section
If you have any question or problem on ‘How to install QBCore Server with TxAdmin’ topic just click on this link and message me. I help you to solve any kind of problem.